One of my guilty slack-off pleasures as a newlywed is to troll www.thenest.com: a website with information on housing, cooking...and politics/current events. An unexpected combo to be sure, but it keeps me entertained. One of the message board posters there had a plate of delicious-looking homemade doughnuts in her signature, and it looked like something I needed to try! I located a recipe here: http://allrecipes.com/recipe/crispy-and-creamy-doughnuts/detail.aspx
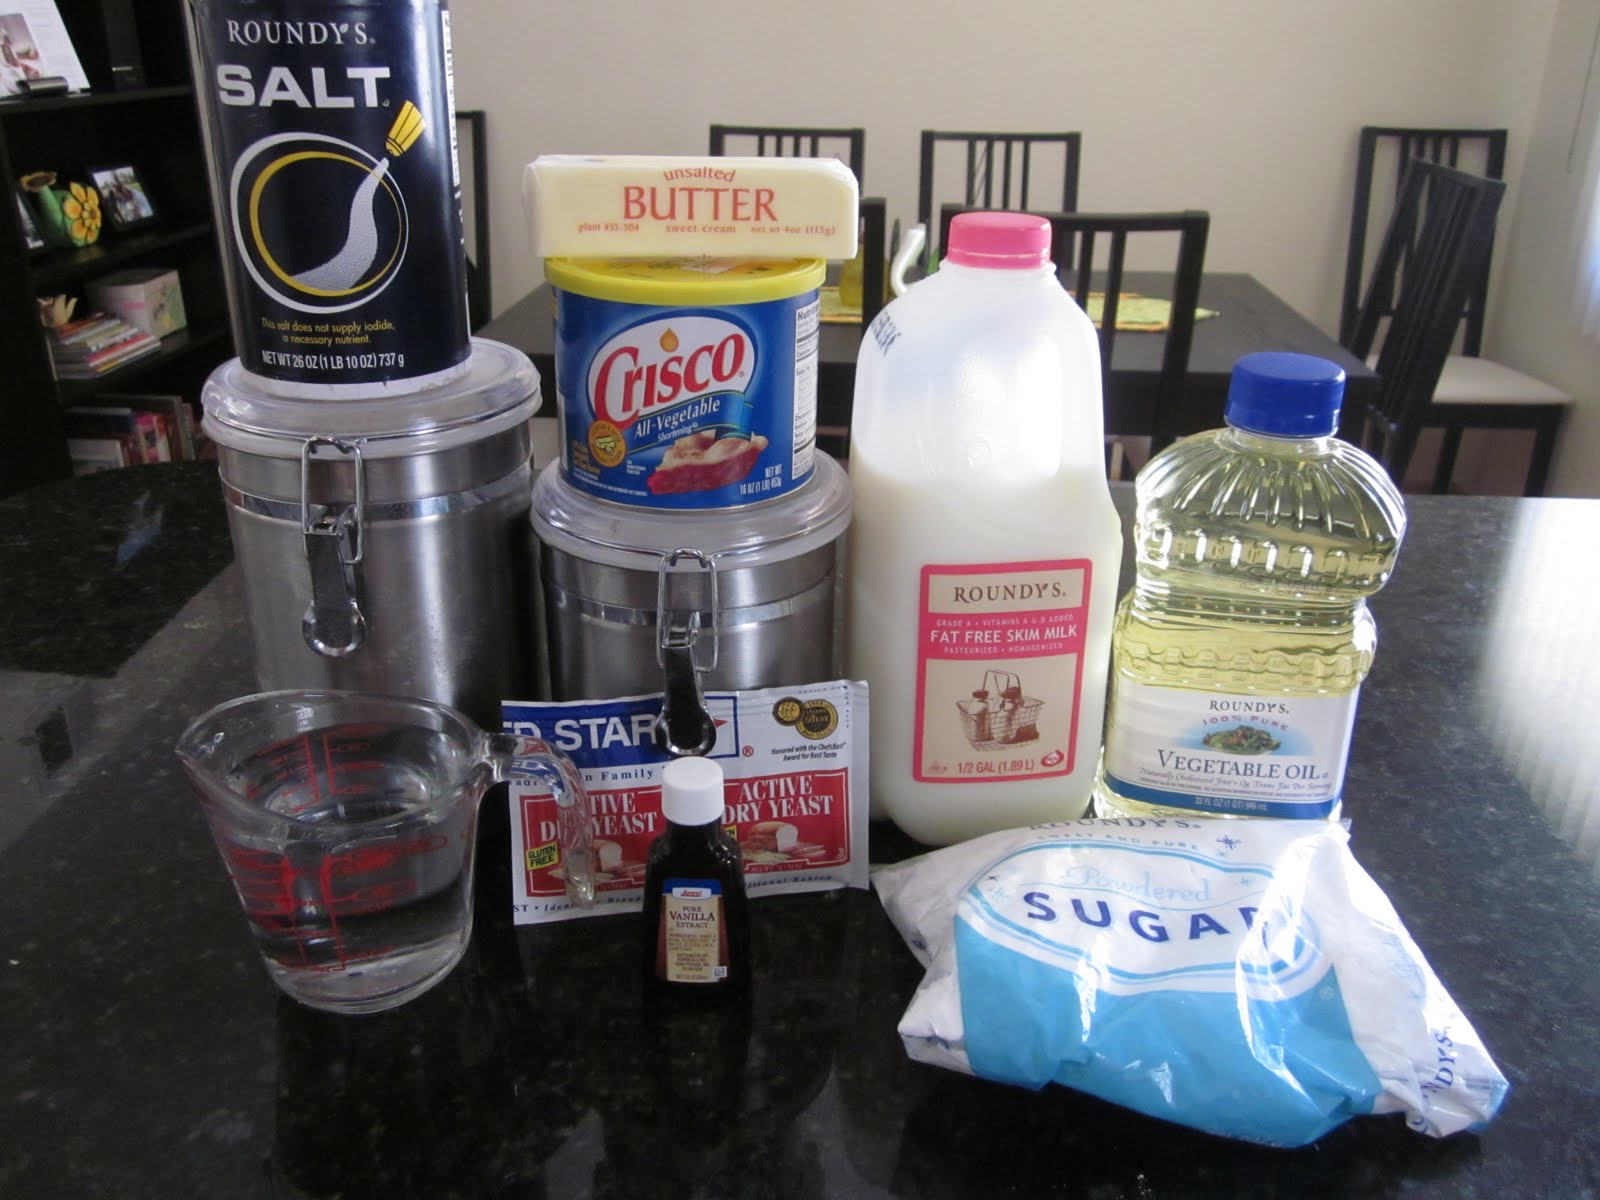
Now, these donuts come out more like a standard Dunkin Donut, if you have those in your area (i.e. a bit lighter than a cake donut). This recipe also only calls for glazed donuts; I had a taste for cinnamon sugar ones, since my husband and I often buy these from our local farms/pumpkin patch type places, and they are always SO good! So, I will tell you how to make both! First, the ingredients:
Cinnamon-Sugar topping
1/3 cup butter
3/4 cup white granulated sugar
2-3 tbs cinnamon (or more, to your taste)
To begin, cut open the yeast packets, and sprinkle them over the warm water. Let the mix sit for five minutes or until it becomes foamy. Now, this was my first time cooking with yeast, and I learned a few things about it. One, temperature is hugely-important. Yeast needs the water to be warm and it will need a warm environment in the kitchen to rise at a decent pace. So, you may want a 75-80 degree kitchen today (I stupidly had my air conditioning turned on full blast on a 70 degree day, and my dough took a good hour and 45 minutes to rise. Learn from my mistake!!). Second, yeast is a fungus, and so it is a bit smelly. Just keep imagining fresh doughnuts in your head as you smell the yeast-i-ness, and you will make it through.
Next, mix the following in a large bowl: the yeast mix, milk, sugar, salt, eggs, and shortening. Use a whisk to make the integration of the shortening easier. When all is combined, add in the flour to the mix in 1/2 cup intervals, again whisking to remove any lumps. You can also use a hand mixer set on low speed if the spoon isn't working for you (I just figured mixing by hand would help cancel out the future doughnut calories :p).
When it is well-mixed, knead the dough for about five minutes, then place it into a greased bowl and cover lightly (saran wrap works well here--just be sure to spray with non-stick spray and cover loosely). Finally, leave the dough alone to rise. It will be ready for action once it is about double its original size and will leave an indentation if touched (if it springs back into its original place when touched, it needs more time).
Once the dough has doubled in size, it is, as they say, time to make the doughnuts! First, prep your space. The recipe calls for you to roll the dough out onto a hard surface, and the dough was still obstinately sticky for me when I uncovered it. So, I taped some saran wrap to my counter top and sprayed it with non-stick spray and sprinkled it with a bit of flour. I highly suggest doing something similar to keep your dough from sticking. Then, place your dough on this surface, cover it with a piece of wax paper, and roll out your dough with a rolling pin on top of the wax paper, until the dough is a 1/2 in. thick (be sure to use the wax paper to keep the dough from sticking to the pin). Use a doughnut cutter to make your dough into the well-loved doughnut shapes (or, as I did, a drinking glass and a small, circular piece from a pastry bag--cooking is all about innovation after all). Finally, allow your doughnuts to again double in size until they look like the ones below:

Finally, it's time to cook the doughnuts and make your toppings. I made the doughnuts first and then went back to make the glaze and such after--the doughnuts fry up very fast, so you may want to devote all your attention to them first. Heat the oil in a skillet (or a deep fryer if you have one) until it reaches 350 degrees (or until a wooden spoon placed in the center of your oil starts to have little bubbles coming up around it--in case you don't have a thermometer). Using a spatula, slide the donuts (2-3 at a time) into the oil, flipping them over as soon as they achieve a light golden color on one side. Once they are golden on each side, remove them and set them on a wire rack to cool (just be sure to place a cookie sheet underneath to catch the mess!).
Toppings are up to you, but here is a glaze option and a cinnamon-sugar option. For the glaze, melt the butter in a saucepan over medium heat, and then add in the confectioner's sugar and vanilla. This is going to thicken up and become frosting-like in consistency, so you will need to add a tsp or more of hot water to thin it out. A little goes a long way, so be sure to only add one tsp at a time until the glaze is thin enough to be drizzled over the doughnuts. Then, simply drizzle over the doughnuts as they cool on the wire racks, and feel free to add fun embellishments like sprinkles!
The cinnamon sugar topping is even easier. Simply mix together your sugar and cinnamon in a bowl and melt the butter in a separate dish. Brush the butter onto the top of the doughnuts and place them into the cinnamon sugar mix--the butter will act as a glue to keep the cinnamon and sugar on the doughnut. Cover the other side of the doughnut in butter and dip the other side in the mixture. (Alternatively, you can place the cinnamon and sugar in a paper bag and shake it to cover all surfaces of the doughnut). These were my favorite, though the glazed were very good, too.
And the final result: time-consuming, but oh so yummy! Enjoy!


No comments:
Post a Comment