7.22.2011

Cake Pops!

The last couple of days, I have felt inundated by images of cupcakes. (OK, so I looked in a magazine advertising cupcakes, and Paula Deen had that Hello, Cupcake! lady on her show--it's still a sign from the universe, gosh darn it!) So what better way to end a Friday afternoon than with some baking? Unfortunately, I recently began dieting, and the caramel corn cupcake recipe I was drooling over did not seem diet-friendly. So, I opted for something in a smaller, more diet-friendly size. And thus I give you...the cake pop.


Before starting, I looked at various cake pop designs. I figured I would use this first foray into the cake pop world as an introduction to basics, and just try to make something that looked like this:


The goal was to one day work up to something like this (and be sure to look at the rest of Bakerella's website--those cake pops are CRAZY awesome). Yay Star Wars pops!


The basic posed a few challenges of its own, however, so I am going to post what I did first and then post my suggestions for what I could have improved on at the end.

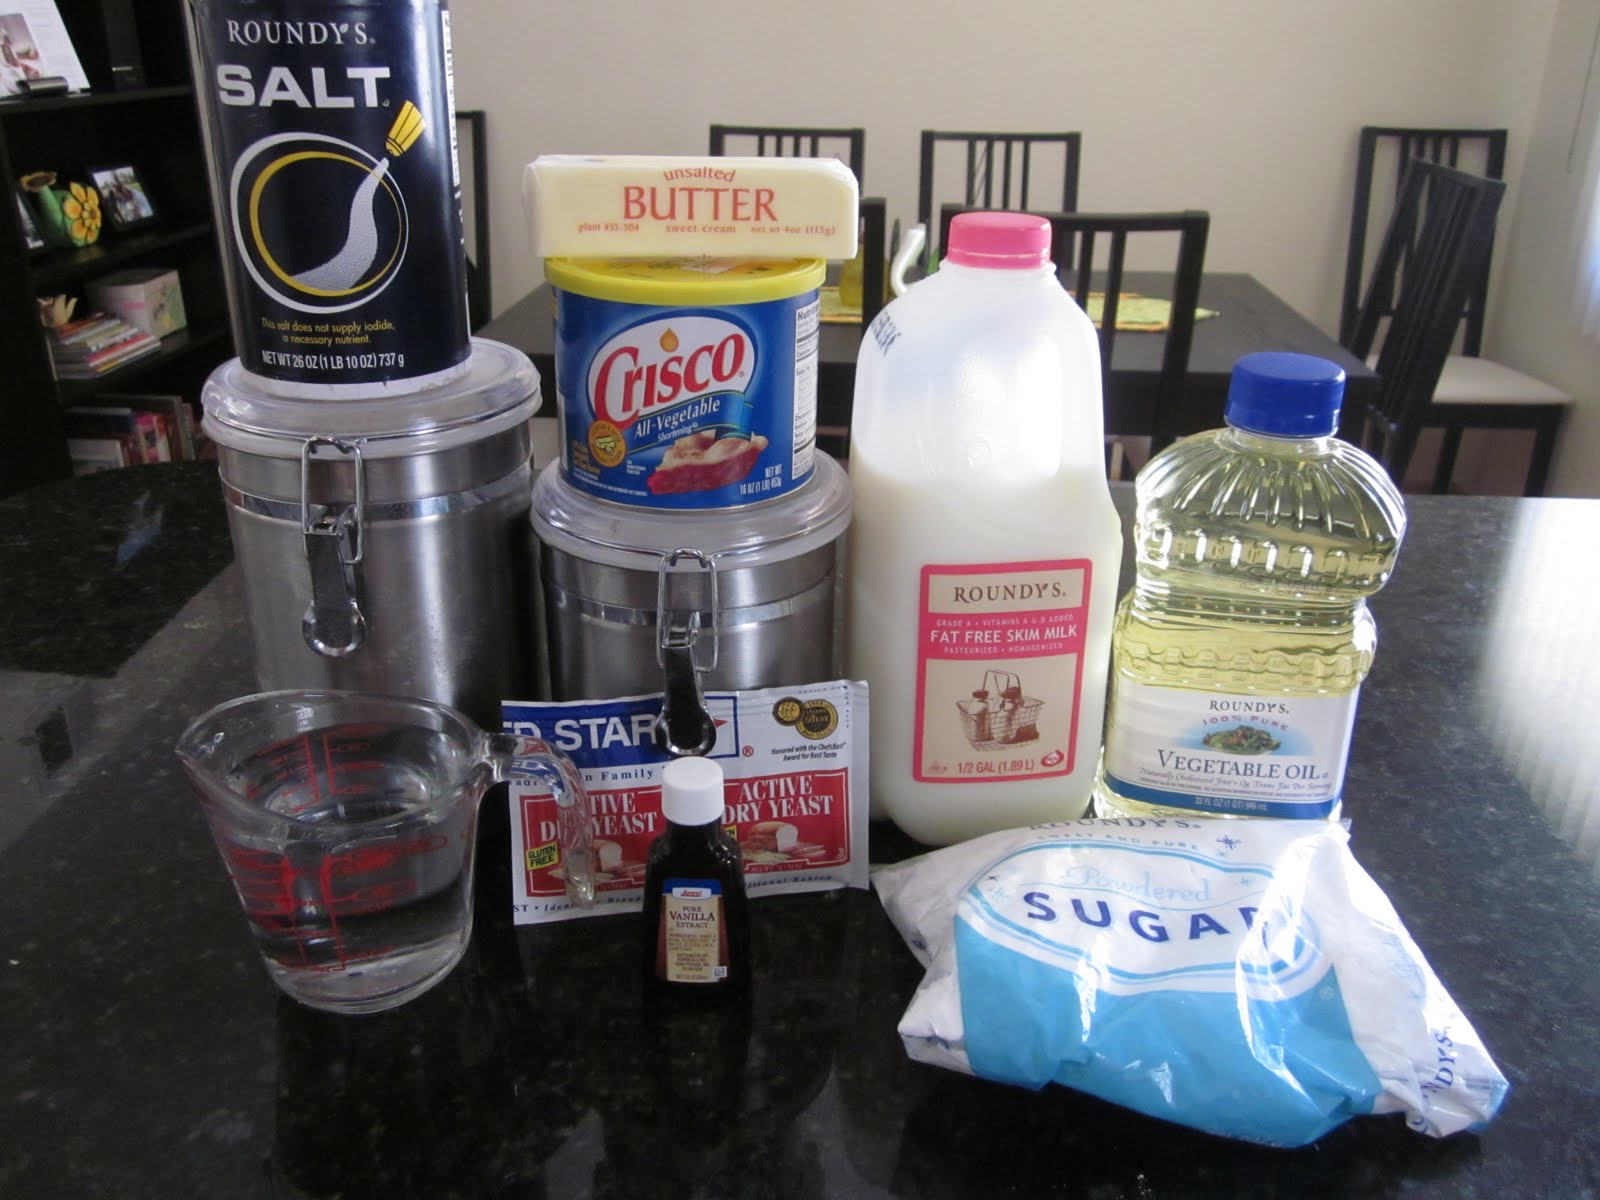
So, let's get to it: my basic cake pop. I'll be honest: I did the lazy baker's version. As suggested by recipes here and here, you can buy a box of store cake mix, a container of pre-made store frosting, a package of candy melts/baker's chocolate/almond bark, and pre-made decorations of your choice--nothing needs to be made from scratch. Add a box of lollipop sticks and a piece of styrofoam (to stick your cake pops into as the chocolate sets) from your local hobby store (i.e. Michaels, Hobby Lobby), and you're done.

I selected a box of red velvet cake mix, container of cream cheese frosting, and baker's white chocolate.
PLEASE PLEASE PLEASE, when it comes to your choice of chocolate for the chocolate shell, buy the baking chocolate, almond bark, or candy melts, NOT the chocolate chips. The chocolate chip bags promise that you can simply melt the chips and add some shortening...and while I am more than willing to admit that I could have microwaved incorrectly, my chocolate chips came out a congealed mess. My Baker's chocolate? Came out perfectly. Either way, you save yourself a step.

But I'm getting ahead of myself. Step #1: Make your cake according to package directions.

When finished, allow the cake to cool on the counter for 30 minutes. Next comes the fun part. See your lovely, oh-so-perfect cake? Time to destroy it! Using a spoon, break up the cake into crumbs, starting in the middle of the cake and stopping just short of the cake's edges (these are a bit tougher, so I just removed them to keep my cake crumb pile nice and soft).
Scoop in your frosting (you can do all of these steps in the pan you baked the cake in!), and use your spoon to integrate it into the cake crumbs so that they are evenly moistened and stick together. Hint: continue to use your spoon here. I was tempted to use my hands, but the mixture sticks to your hands and makes further integration difficult. When it's all mixed together, cover the cake/frosting mix, and place in the refrigerator for 3 hours or longer.

Cake balls can fall apart easily, so be sure to give the cake mix its fridge time. When the 3 hours are up, remove the cake from the fridge, and take out a baking sheet and line with wax paper--it's time to make the cake mix into balls! If you have one, a small ice cream scoop or melon baller helps you to make your cake balls easily and uniformly-shaped. If not, use your hands to roll pieces of the cake mix into balls about an inch, inch and a half big. The recipes suggest that you should have about 36 cake balls (I had 42). When all your cake balls are formed, place the baking sheet with the cake balls into the freezer for one hour.

And now, here is the challenging part: the chocolate shell, lollipop stick, and decorations. The way the recipes tell you to accomplish the final transformation from cake ball to cake pop is as follows:
1) Microwave or melt your chocolate over the stove (in a glass bowl atop boiling water).
2) Dip the lollipop stick in the chocolate and then stick the chocolately-end into a cake ball (the chocolate should act as glue to keep the cake ball on the stick).
3) Dip the cake ball in the melted chocolate to cover it in the chocolate shell.
4) Stick the completed cake pop in the styrofoam and allow the chocolate shell to set.
5) Decorate as you desire with sprinkles (do this BEFORE the chocolate sets) or with a drizzle of a different chocolate (i.e. white chocolate over dark chocolate or vice versa).

I followed these instructions and ended up with several lovely cake pops. See, evidence:


And, they were tasty. However, I had a few that simply slipped down the lollipop stick, and there was the congealed chocolate chip incident I alluded to earlier. My suggestions? 
1) Again, avoid the chocolate chips!!! Get the chocolate that was destined to become a candy shell. It will feel fulfilled, and you won't be irritated.
2) Either make the cake balls about half the size as that specified above (to reduce the weight on the stick) OR put the cake balls back into the freezer once you've inserted the sticks to allow them to set awhile OR lay the cake pops sideways as soon as the chocolate is set to reduce the weight on the stick. 


Follow these steps (with the modifications suggested above), and I know your cake pops will be fabulous! Enjoy!

7.15.2011

Homemade Doughnuts!

One of my guilty slack-off pleasures as a newlywed is to troll www.thenest.com: a website with information on housing, cooking...and politics/current events. An unexpected combo to be sure, but it keeps me entertained. One of the message board posters there had a plate of delicious-looking homemade doughnuts in her signature, and it looked like something I needed to try! I located a recipe here: http://allrecipes.com/recipe/crispy-and-creamy-doughnuts/detail.aspx

Now, these donuts come out more like a standard Dunkin Donut, if you have those in your area (i.e. a bit lighter than a cake donut). This recipe also only calls for glazed donuts; I had a taste for cinnamon sugar ones, since my husband and I often buy these from our local farms/pumpkin patch type places, and they are always SO good! So, I will tell you how to make both! First, the ingredients:


  • Dough
  • 2 (.25 ounce) envelopes active dry yeast
  • 1/4 cup warm water (105 to 115 degrees)
  • 1 1/2 cups lukewarm milk
  • 1/2 cup white sugar
  • 1 teaspoon salt
  • 2 eggs
  • 1/3 cup shortening
  • 5 cups all-purpose flour
  • 1 quart vegetable oil for frying
  •  
  • Glaze
  • 1/3 cup butter
  • 2 cups confectioners' sugar
  • 1 1/2 teaspoons vanilla
  • 4 tablespoons hot water or as needed

Cinnamon-Sugar topping
1/3 cup butter
3/4 cup white granulated sugar
2-3 tbs cinnamon (or more, to your taste)

To begin, cut open the yeast packets, and sprinkle them over the warm water. Let the mix sit for five minutes or until it becomes foamy. Now, this was my first time cooking with yeast, and I learned a few things about it. One, temperature is hugely-important. Yeast needs the water to be warm and it will need a warm environment in the kitchen to rise at a decent pace. So, you may want a 75-80 degree kitchen today (I stupidly had my air conditioning turned on full blast on a 70 degree day, and my dough took a good hour and 45 minutes to rise. Learn from my mistake!!). Second, yeast is a fungus, and so it is a bit smelly. Just keep imagining fresh doughnuts in your head as you smell the yeast-i-ness, and you will make it through.

Next, mix the following in a large bowl: the yeast mix, milk, sugar, salt, eggs, and shortening. Use a whisk to make the integration of the shortening easier. When all is combined, add in the flour to the mix in 1/2 cup intervals, again whisking to remove any lumps. You can also use a hand mixer set on low speed if the spoon isn't working for you (I just figured mixing by hand would help cancel out the future doughnut calories :p).

When it is well-mixed, knead the dough for about five minutes, then place it into a greased bowl and cover lightly (saran wrap works well here--just be sure to spray with non-stick spray and cover loosely). Finally, leave the dough alone to rise. It will be ready for action once it is about double its original size and will leave an indentation if touched (if it springs back into its original place when touched, it needs more time).

Once the dough has doubled in size, it is, as they say, time to make the doughnuts! First, prep your space. The recipe calls for you to roll the dough out onto a hard surface, and the dough was still obstinately sticky for me when I uncovered it. So, I taped some saran wrap to my counter top and sprayed it with non-stick spray and sprinkled it with a bit of flour. I highly suggest doing something similar to keep your dough from sticking. Then, place your dough on this surface, cover it with a piece of wax paper, and roll out your dough with a rolling pin on top of the wax paper, until the dough is a 1/2 in. thick (be sure to use the wax paper to keep the dough from sticking to the pin). Use a doughnut cutter to make your dough into the well-loved doughnut shapes (or, as I did, a drinking glass and a small, circular piece from a pastry bag--cooking is all about innovation after all). Finally, allow your doughnuts to again double in size until they look like the ones below:


Finally, it's time to cook the doughnuts and make your toppings. I made the doughnuts first and then went back to make the glaze and such after--the doughnuts fry up very fast, so you may want to devote all your attention to them first. Heat the oil in a skillet (or a deep fryer if you have one) until it reaches 350 degrees (or until a wooden spoon placed in the center of your oil starts to have little bubbles coming up around it--in case you don't have a thermometer). Using a spatula, slide the donuts (2-3 at a time) into the oil, flipping them over as soon as they achieve a light golden color on one side. Once they are golden on each side, remove them and set them on a wire rack to cool (just be sure to place a cookie sheet underneath to catch the mess!).

Toppings are up to you, but here is a glaze option and a cinnamon-sugar option. For the glaze, melt the butter in a saucepan over medium heat, and then add in the confectioner's sugar and vanilla. This is going to thicken up and become frosting-like in consistency, so you will need to add a tsp or more of hot water to thin it out. A little goes a long way, so be sure to only add one tsp at a time until the glaze is thin enough to be drizzled over the doughnuts. Then, simply drizzle over the doughnuts as they cool on the wire racks, and feel free to add fun embellishments like sprinkles!

The cinnamon sugar topping is even easier. Simply mix together your sugar and cinnamon in a bowl and melt the butter in a separate dish. Brush the butter onto the top of the doughnuts and place them into the cinnamon sugar mix--the butter will act as a glue to keep the cinnamon and sugar on the doughnut. Cover the other side of the doughnut in butter and dip the other side in the mixture. (Alternatively, you can place the cinnamon and sugar in a paper bag and shake it to cover all surfaces of the doughnut). These were my favorite, though the glazed were very good, too.

And the final result: time-consuming, but oh so yummy! Enjoy!


Swedish Meatballs and Noodles

After three weeks of placing our life in boxes, my husband and I have finally moved into a new place--with a beautiful new kitchen! So of course, I needed a homemade meal to break in the new place and settled on one of my favorites from childhood: Swedish meatballs and noodles. I'd say this recipe is most similar in taste to the Stouffer's boxed dinner...but it's also thicker, fresher, meatier, and more flavorful (and actually fairly healthy--just watch your portion size)! The recipe was inspired by a combination of a random card I found in a recipe box, some stroganoff ingredients, and my own imaginings. Here are the ingredients (note that I ended up swiping paprika for parsley at the last minute at the end of the recipe):

For the meatballs:
3/4 pd. of lean ground beef
3/4 to 1 cup of breadcrumbs
2 egg whites
1/4 chopped yellow onion
1/2 tsp allspice
1/3 tsp salt
1/4 tsp black pepper
1/2 cup beef broth (prepared or made from bouillon)

For sauce:
1 can cream of mushroom soup (healthy fat/sodium version)
1 packet Lipton onion soup mix
1/2 cup sour cream (I used light)

And finally, a bag of egg noodles (brand of your choice--I used whole wheat ones for the health benefits)

To begin, preheat your oven to 325 degrees. Combine all ingredients for your meatballs in a bowl except for the beef broth (i.e. ground beef, onion, egg whites, spices, breadcrumbs). When finished, form 1 inch balls of meat out of the mixture (ice cream scoopers help to keep your meatballs a uniform size for even cooking). Warm a skillet, put in a few tsp of oil to prevent sticking, and brown the meatballs over medium-high heat. When browned, transfer the meatballs to a baking dish, pour the beef broth on top, cover with aluminum foil, and bake in the oven for 15-20 minutes. This will help them to complete the cooking process, and they will be finished when they are no longer pink on the inside.

While the meatballs cook, prepare your sauce and noodles. To prepare the sauce, combine the mushroom soup and packet of dry onion soup mix in a large skillet on the stove (over medium heat). Depending on how thick you like your sauce, you can add a little milk to thin your sauce out, but be sure to add it a tsp at a time to keep it from getting too runny. Cook your egg noodles in a large pot according to the package's directions.

When the meatballs are close to being finished, take your sauce mixture off the stove and stir in the sour cream until thoroughly blended (you do not want to do this over the heat in case the sour cream curdles).

To serve, place a heap of egg noodles on a plate, add a few meatballs, cover with sauce, and sprinkle with parsley! And there you have it: tasty, healthy, and simple--enjoy!